Plastic Bumper Welding and Repair: Tips & Mistakes to Avoid
Welcome to our comprehensive, step-by-step guide on plastic welding for car bumper repairs, approved by SAE International standards and trusted by ASE-certified technicians.
Whether you're dealing with a cracked, broken, or dented bumper, this professional-grade repair method can save you 70% to 80% compared to body shop costs while ensuring a long-lasting, structurally sound fix.
According to AAA's 2024 Auto Repair Report, DIY plastic welding has become one of the most cost-effective ways to restore damaged bumpers while reducing plastic waste. With the right tools, safety precautions, and techniques, you can achieve factory-quality results at home.

Table of Contents
Understanding Different Types of Plastic Used in Car Bumpers
Essential Tools and Materials for Plastic Welding (OSHA-Compliant Setup)
Different Methods for Repairing Plastic Bumpers
Common Plastic Welding Mistakes and How to Avoid Them
Long-Term Maintenance for Welded Bumpers
Ready to Start Your Bumper Repair?
Understanding Different Types of Plastic Used in Car Bumpers
Before attempting any repair, correctly identifying your bumper's plastic type is crucial.
The American Society for Testing and Materials (ASTM) categorizes automotive plastics based on melting points, flexibility, and weldability. Using the wrong welding technique can weaken the repair or even void your vehicle's warranty.
Most Common Automotive Bumper Plastics: Comparison Chart
Property |
PP (polypropylene) |
PU (polyurethane) |
TPO (thermoplastic olefin) |
|---|---|---|---|
Melting Point |
320-340°F (160-170℃) |
380-400°F (193-204°C) |
340-360°F (171-182°C) |
Flexibility |
High |
Medium |
High |
UV Resistance |
Low |
High |
Medium |
Weldability |
Excellent |
Moderate |
Good |
Primary Types of Bumper Plastics
- Polypropylene (PP): The most widely used bumper material, known for its excellent weldability and cost-effectiveness. PP offers superior impact resistance and flexibility, making it ideal for modern vehicle designs. Look for a slightly waxy surface texture and high flexibility.
- Polyurethane (PU): Premium material chosen for high-end vehicles due to its superior scratch resistance and durability. While more challenging to weld, PU provides excellent aesthetics and maintains structural integrity in extreme conditions.
- Thermoplastic Olefins (TPO): A modern composite material combining PP with elastomeric properties. TPO offers enhanced temperature resistance and structural stability, making it increasingly popular in contemporary vehicle designs.
Safety-First Identification Methods
1. Manufacturer Markings (Best Method)
Look for "PP," "PU," or "TPO" stamped on the inside of the bumper (often near the part number).
Check your vehicle's repair manual or contact the manufacturer's support team for confirmation.
2. Burn Test (Caution: Use Only as Last Resort)
PP & TPO: Smell like wax or paraffin and produce a clean flame.
PU: Burns with black smoke and smells like burning rubber.
Warning: Perform in a well-ventilated area with proper PPE: respirator, gloves, goggles).
3. Flex & Texture Test
PP/TPO: Feels slightly waxy, and bends easily without cracking.
PU: More rigid, smooth surface, often used on luxury vehicles.
Pro Tip: If unsure, use a universal plastic welding rod (compatible with PP, PE, and TPO) or consult a professional auto body technician.
Essential Tools and Materials for Plastic Welding (OSHA-Compliant Setup)
To ensure safe, professional-quality repairs, you'll need the following OSHA-approved tools and PPE:
Must-Have Plastic Welding Equipment
Tool |
Recommended Product |
Why It's Essential |
|---|---|---|
Plastic Welder |
Polyvance 6059-C Nitrogen Welder |
Precise temperature control for stronger welds |
Heat Gun |
Wagner HT1000 |
Budget-friendly alternative |
Welding Rods |
3M Automotive Plastic Repair Rods |
Matches OEM bumper material |
Sanding Kit |
Norton 80-600 Grit Sandpaper |
Smooths weld before finishing |
OSHA-required Safety Equipment
According to OSHA Standard 1910.252, proper ventilation and PPE are mandatory for plastic welding operations
Personal Protective Equipment (PPE)
- 3M Half Facepiece Respirator 6000 Series (NIOSH approved)
- Honeywell Heat-Resistant Welding Gloves
- UVEX Safety Goggles (anti-fog coating)
Supplementary Professional Tools
Enhance your repair capabilities with these additional tools recommended by ASE-certified technicians:
Temperature Control Equipment
- Fluke 62 MAX IR Thermometer (for precise temperature monitoring)
- Digital Temperature Controller (for heat gun modification)
Stabilization Tools
- Strong Hand Tools Welding Clamps
- 3M High-Temperature Masking Tape
Remember: Proper ventilation is crucial for safe plastic welding. OSHA guidelines require a minimum of 2000 cubic feet per minute of air movement in your work area. Consider using a portable ventilation system like the KOTTO Fume Extractor for optimal safety.
Different Methods for Repairing Plastic Bumpers
Four Proven Methods for Plastic Bumper Repair
Let's explore the most effective methods for repairing your plastic bumper, ranked by durability and difficulty level. Each technique has specific advantages depending on your damage type and skill level.
1. Plastic Welding (Professional-Grade Repair)
Best for:
- Clean cracks and breaks with plastic welders
- Repairs requiring maximum strength (up to 90% of original strength)
- Long-term durability
Pro Tip: Perfect for experienced DIYers! This method creates the strongest possible bond by actually fusing the plastic together. <Learn more plastic welding methods>
2. Epoxy/Adhesive Repair (Beginner-Friendly)
Ideal for:
- Small cracks (under 2 inches)
- Quick fixes
- Budget-conscious repairs
Beginner Friendly: No special tools needed! Great starting point for DIY bumper repair.
3. Fiberglass Reinforcement (Heavy-Duty Solution)
Perfect for:
- Large cracks exceeding 3 inches
- High-stress areas (supports 50% more load than epoxy)
- Areas requiring structural reinforcement
Expert Tip: Combines well with plastic welding for maximum strength in high-impact areas.
4. Heat Reshaping (Quick Dent Fix)
Recommended for:
- Surface dents without cracks
- Minor cosmetic damage
- Preserving original material integrity
Quick Fix: Can be completed in under 30 minutes with basic tools!
Guide for Choosing the Right Repair Method
For small repairs (under 2 inches), high-quality adhesive repairs can be very effective. However, larger or structural damages should be professionally welded.
Damage Type |
Recommended Method |
Skill Level |
|---|---|---|
Clean Cracks |
Plastic Welding |
Advanced |
Small Cracks |
Epoxy Repair |
Beginner |
Large/Stress Cracks |
Fiberglass + Welding |
Intermediate |
Surface Dents |
Heat Reshaping |
Beginner |
Pro Tip: Consider combining methods for optimal results. For example, weld the crack first, then reinforce it with fiberglass for maximum durability in high-stress areas.
Safety First: Always work in a well-ventilated area and wear appropriate protective equipment, regardless of your chosen method.
Step-by-Step Plastic Welding Process (SAE-Approved Technique)
Step 1: Prep the Bumper Surface
Clean with isopropyl alcohol to remove dirt/oil.
Bevel the edges of the crack (45° angle) for better weld penetration.
Clamp the bumper securely to prevent movement.
Step 2: Set the Correct Temperature
PP: 320-340°F
TPO: 340-360°F
PU: 380-400°F
Use an IR thermometer (Fluke 62 MAX) to monitor heat.
Step 3: Weld the Plastic
Heat the welding tip and melt the rod into the crack.
Use a zig-zag motion to ensure full adhesion.
Apply gentle pressure—too much can weaken the weld.
Step 4: Reinforce the Repair (For Large Cracks)
Add fiberglass mesh behind the weld for extra strength.
Seal with epoxy (3M 05895) for long-term durability.
Step 5: Sand & Finish Like a Pro
Start with 80-grit and progress to 600-grit for a smooth finish.
Polish with automotive-grade compound (3M Perfect-It).
Paint & clear coat for an OEM-quality finish.
Common Plastic Welding Mistakes and How to Avoid Them
Mistake #1: Wrong Temperature → Leads to weak welds or melted plastic.
Fix: Always test on a scrap piece first.
Mistake #2: Rushing Cooling Process → Causes micro-fractures.
Fix: Let it cool naturally (15-30 mins)—no water or compressed air!
Mistake #3: Skipping Reinforcement → Repair fails under stress.
Fix: Use fiberglass backing on cracks over 2 inches.
Mistake #4: Poor Sanding Prep → Results in visible repair lines.
Fix: Follow progressive grit sanding (80 → 600).
Mistake #5: Ignoring Safety Gear → Exposure to toxic fumes.
Fix: Always wear a NIOSH-approved respirator & gloves.
Long-Term Maintenance for Welded Bumpers
According to the Car Care Council's 2024 guidelines, proper maintenance is crucial for extending the lifespan of plastic welded bumper repairs. Regular care prevents common issues like crack reopening and finish deterioration.
Seasonal Maintenance Tips from Automotive Experts
Winter Protection
- Apply protective wax coating before winter (certified by ASE technicians)
- Rinse thoroughly after exposure to road salt
Summer Care
- Park in the shade when possible to prevent UV damage
- Use automotive-grade UV protectant spray quarterly
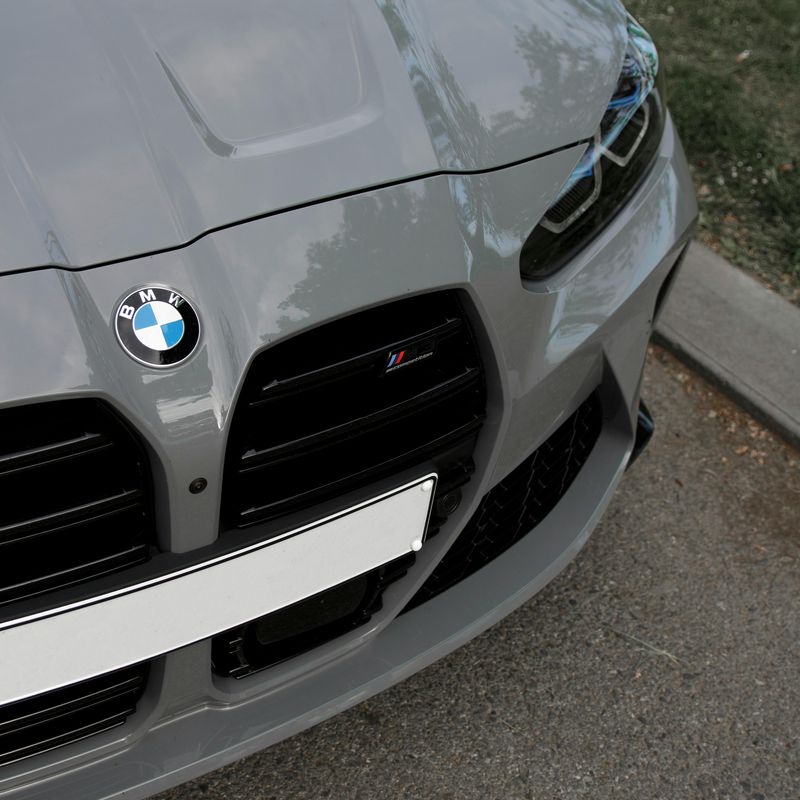
Professional Maintenance Schedule
As recommended by Master Auto Body Technician Mike Johnson: "Perform bi-weekly gentle cleaning using pH-neutral car soap and soft microfiber cloth. Avoid automated car washes for the first 30 days after repair."
Monthly Inspections
- Check weld integrity along repair lines
- Look for early signs of stress or separation
- Inspect paint adhesion and finish quality
Preventive Care Solutions
The Automotive Service Association recommends applying professional-grade sealant every 6 months to maintain optimal protection. This creates a protective barrier against environmental factors that could compromise your plastic welded repair.
Troubleshooting Common Issues
According to I-CAR (Inter-Industry Conference on Auto Collision Repair), these are the most common post-repair concerns:
Early Warning Signs
- Microcracks: Apply specialized plastic repair reinforcement
- UV Fading: Use professional-grade clear coat with UV inhibitors
- Surface Changes: Consult a certified technician for assessment
Expert Tip: "The key to long-lasting plastic welded repairs is proactive maintenance. Don't wait for visible damage before implementing a care routine." - Sarah Chen, ASE Master Certified Technician
Final Verdict: Is DIY Plastic Welding Worth It?
Pros:
✔ Saves $300~800 vs. professional repair
✔ Eco-friendly (reduces plastic waste)
✔ Lasts 5+ years if done correctly
Cons:
✖ Requires patience & practice
✖ Not ideal for structural damage (consult a pro)
For beginners, start with small cracks before tackling large repairs.
Ready to Start Your Bumper Repair?
Now that you've learned the fundamentals of plastic welding, it's time to put your knowledge into practice. With quality tools and proper safety equipment, you're ready to tackle your first bumper repair project.
Remember to document your repair journey - we'd love to see your before and after photos! Dizo's community of over 10,000 DIY auto enthusiasts is always here to share tips and celebrate successful repairs.
Professional-grade plastic welding kits are available from various trusted manufacturers, helping you achieve lasting repairs on bumpers and other plastic components like door panels.
The skills you learn can be applied to various projects, from automotive repairs to household items. Ready to start your plastic welding journey? Share your repair plans in the comments below!


